April 25, 2018

Your Friendship Means So Much To Me! {CTD490}

Hi everyone! Happy Wednesday!

It’s time for a new Color Throwdown Challenge, and this week, Wanda has challenged us to use pink, lavender, sage green and light gray! What a soft, pretty combo!

CTD490

I am so excited to be able to work with the gorgeous new Every Days A Happy Day Etched Die from Spellbinders, and I thought it was perfect with these colors! I cut a panel of white card stock using this gorgeous new die, and the sponged it using Tattered Rose, Bundled Sage, Hickory Smoke and Shaded Lilac Distress Oxide Inks. I spritzed the panel with water and then spritzed on some watered down white acrylic paint. LOVE.

I cut the main panel of Smooth White Card Stock using the A2 Stitched Rectangle STAX 2 Die-namics from MFT, and used it again to cut a panel of Grout Gray Prestige Card Stock, which I sponged using Hickory Smoke Distress Oxide Ink. I trimmed the gray panel down and then adhered the sponged die-cut. I stamped “YOUR FRIENDSHIP MEANS SO MUCH TO ME” from the So Many Sentiments set from Neat & Tangled. I thought this sentiment was perfect with this die cut!

CTD491

swatch490

Check out what the Color Throwdown Team has created today!

Barbara Anders

Broni Holcombe

Lisa Henke

Lori Tecler

Lynn Put

Vickie Zimmer

Wanda Cullen

Amy Rysavy

Amy Rohl

Hannelie Bester, this month’s AMAZING Guest Stamper!

Diana Kreutzer, this week’s awesome Guest Star Stamper!

Thanks SO much for stopping by!

cupsignature

April 24, 2018

Stitched Blooms Card Kit Release!

Hi everyone! Happy Tuesday!

It’s time! The FABULOUS new Stitched Blooms Card Kit has been released, and it is available only while supplies last! This kit is FANTASTIC, and the Stitched Blooms Die-namics are SO amazing!

Print


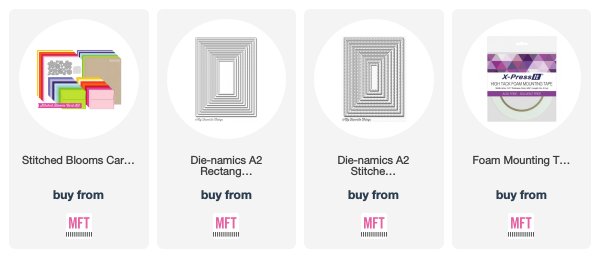
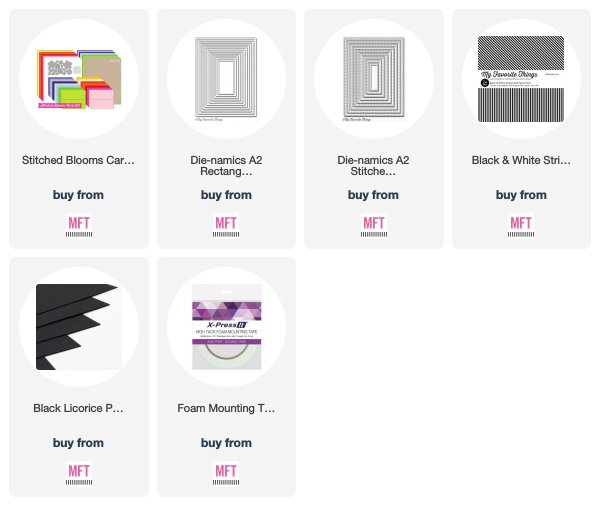
For my card today, I began with a panel of Smooth White Card Stock using the A2 Stitched Rectangle STAX Die-namics. I added a strip of patterned paper from the Black & White Stripes Paper Pack. This is my most favorite pattern to add to my cards, if you couldn’t tell! LOL.

The flowers and leaves were all cut using the Stitched Blooms Die-namics using the included Cherry Crisp Prestige Card Stock, Persimmon Prestige Card Stock, Daffodil Prestige Card Stock and Limelight Prestige Card Stock. LOVE. Creating and layering these flowers is SO much fun! I popped them with up with Foam Tape, and then cut “hello” using the mid-month Free with $60 die, the Hello Die-namics, four times from Black Licorice Prestige Card Stock. I layered them together and added the word to my card. I finished off my card with a trio of the included Sparkling Crystals!

Print

cupsupplies

Print

Thanks SO much for stopping by! Please head over to the MFT Blog to check out what the rest of the team has created with this fabulous new kit,and be sure to grab yours while they are available!

cupsignature

April 23, 2018

Stitched Blooms Card Kit: Day Two!

Hi everyone! Happy Monday!!

We are getting closer and closer to the release of the incredible new MFT Card Kit, the Stitched Blooms Card Kit! I am OBSESSED with these flowers, and I can’t wait for you all to get this kit! You are going to LOVE it!

Print

This card was SUPER fun to create! I wanted to create a background using the Stitched Blooms flowers, and with the incredible Stitched Blooms Die-namics, it’s SUPER easy! I began with a panel of Smooth White Card Stock cut using the A2 Stitched Rectangle STAX 2 Die-namics.

The flowers were cut from the included Tropical Teal Prestige Card Stock, Summer Splash Prestige Card Stock and Smooth White Card Stock, and the leaves were cut from the included Green Room Prestige Card Stock. I arranged them onto the main panel, trimming the edges as I went along. I popped up the flower centers using Foam Tape for some dimension. I used the mid-month Free with $60 die, the Hello Die-namics, and cut it four times from Smooth White Card Stock. I layered them together and added the die cut to the card. I finished off the card with a trio of the included Sparkling Crystals, which I LOVE!

Print

cupsupplies

Print

Thanks SO much for stopping by! Please head over to the MFT Blog to check out what the rest of the team has created using the GORGEOUS new Stitched Blooms Card Kit!

cupsignature

April 22, 2018

Stitched Blooms Card Kit: Day One!

Hi everyone! Happy Sunday!!

I am SO excited to share with you the GORGEOUS new Card Kit from MFT, the Stitched Blooms Card Kit! SWOOOOOOOOOOOON! These flowers are EVERYTHING!!! I cannot get enough!

Print

These flowers are SO FUN and SO EASY to create! The dies do ALL of the work with the gorgeous stitched elements!! I used the Stitched Blooms Die-namics to cut all of the flowers and leaves, and I used card stock colors included in the kit! For this card, I cut the flowers from Tickled Pink Prestige Card Stock, Ripe Raspberry Prestige Card Stock and Smooth White Card Stock. The leaves were cut from Limelight Prestige Card Stock. LOVE!

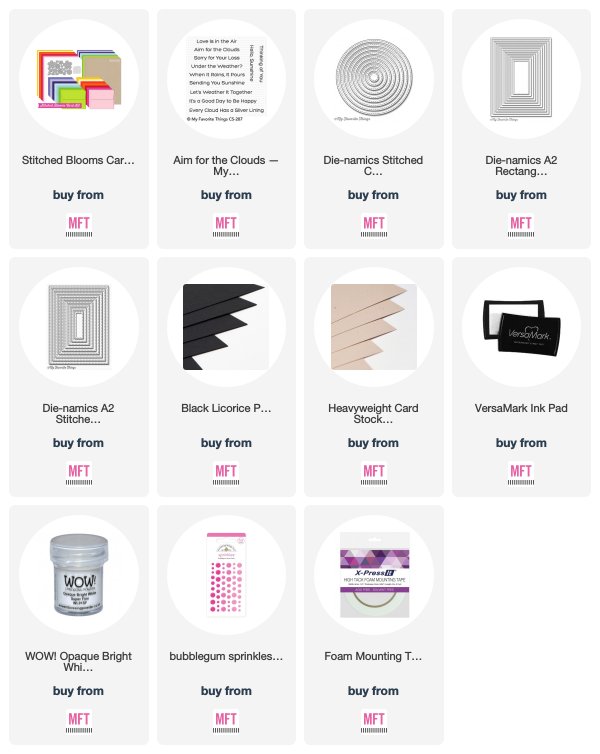
The main panel of Smooth White Card Stock cut using the A2 Stitched Rectangle STAX 2 Die-namics. I added a circle panel cut from Natural Card Stock using the Stitched Circle STAX Die-namics. The “hello” was cut using the Hello Die-namics, which is the mid-month Free with $60 die! I cut Smooth White Card Stock four times using this new die-namics, and layered them together. I added the “hello” die cut to my card, and then cut strip of Black Licorice Prestige Card Stock and stamped “Thinking of You” from Aim for the Clouds using Versamark Ink. I heat embossed the sentiment using WOW! Opaque Bright White Super Fine Embossing Powder. I finished off the card with a trio of Bubblegum Sprinkles!

Print

cupsupplies

Print

cupsignature

April 19, 2018

April MFT Birthday Project: Shaker Cards!

Hi everyone! Happy Thursday!

It’s time for the April MFT Birthday Project Challenge, and this month, we are creating one of my favorite types of cards…shaker cards!

Print

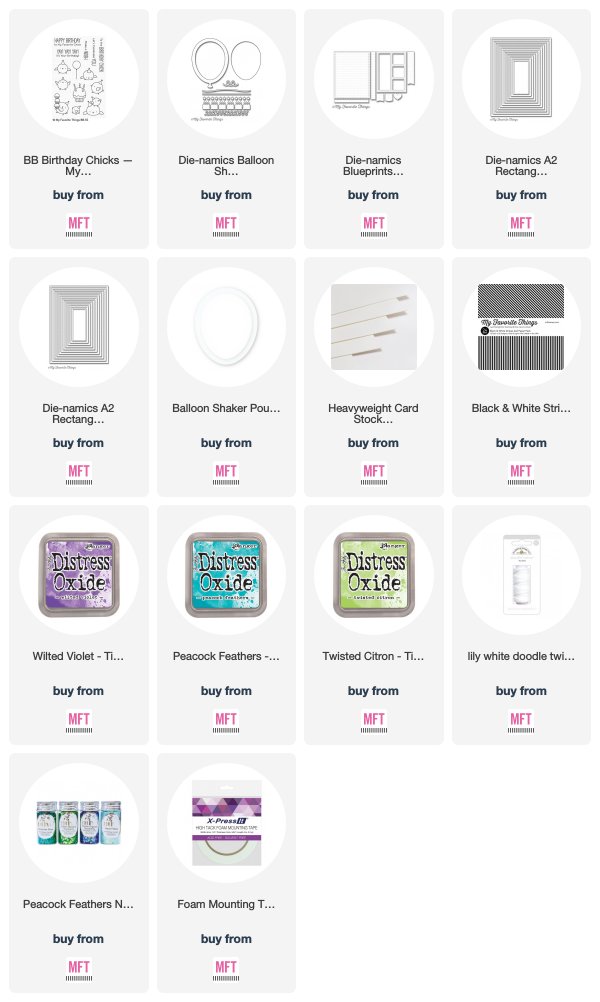
I really LOVE to create shaker cards, and this card was super fun to make, as it features not one, but TWO shakers! I began with a panel of Smooth White Card Stock cut using the A2 Rectangle STAX 2 Die-namics. I added a strip of patterned paper down the side cut from the Black & White Stripes Paper Pack.

I used the Balloon Shaker Window & Frame Die-namics to cut out the two balloons, and then added Balloon Shaker Pouches. I filled them with GORGEOUS Nuvo  Pure Sheen Peacock Feathers Confetti (LOVE!). I then cut the frames from Smooth White Card Stock using the Balloon Shaker Window & Frame Die-namics, and I inked them both using Twisted Citron Distress Oxide Ink, Peacock Feathers Distress Oxide Ink and Wilted Violet Distress Oxide Ink.

I used Lily White Doodle Twine for the balloon strings, and to create little bows for the balloon ties. The sentiment panel was cut from Smooth White Card Stock using Blueprints 27 Die-namics, and I stamped “YAY! YAY! YAY! Its Your Birthday” from Birthday Chicks, using Twisted Citron Distress Oxide Ink, Peacock Feathers Distress Oxide Ink and Wilted Violet Distress Oxide Ink. I finished off the card with a trio of enamel dots.

Print

cupsupplies

Print

Thanks SO much for stopping by! Please head over to the MFT Challenge Blog to check out what the rest of the team has created, and to play along with us!!

cupsignature

April 18, 2018

Hi! {CTD489}

Hi everyone! Happy Wednesday!

It’s time for a new Color Throwdown Challenge, and this week, Vickie has challenged us to use red, green and white! SO fun!

Print

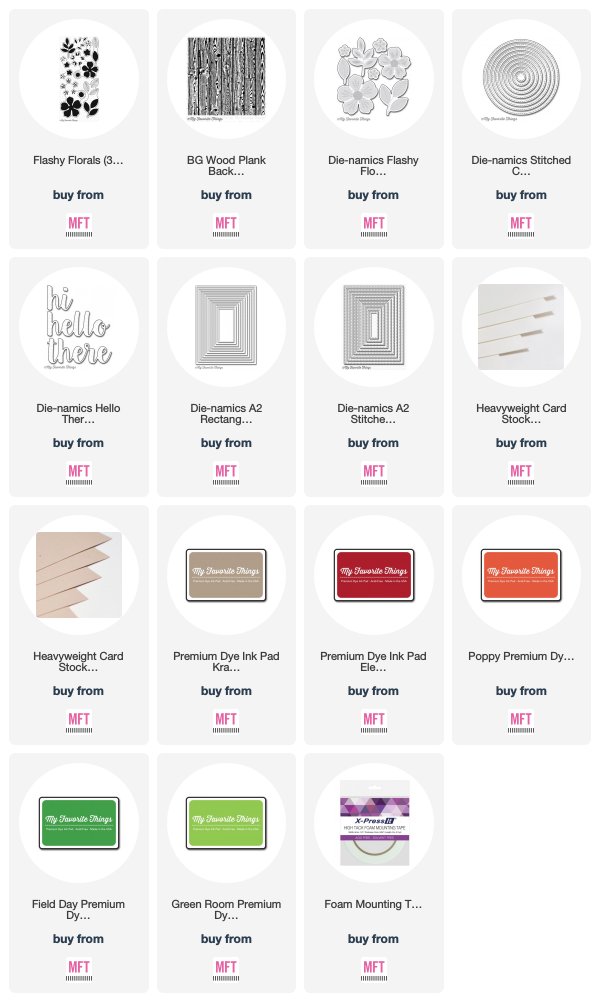
I just LOVE the Flashy Florals set from MFT, and I knew I wanted to create these beautiful red flowers when I saw this week’s color scheme! I cut the flowers and leaves from Smooth White Card Stock using the Flashy Florals Die-namics, and then stamped them using Flashy Florals with Poppy Premium Dye Ink, Electric Red Premium Dye Ink, Green Room Premium Dye Ink and Field Day Premium Dye Ink.

The main panel of Smooth White Card Stock was cut using the A2 Stitched Rectangle STAX 2 Die-namics, and I then stamped a panel of Natural Card Stock using the Wood Plank Background using Kraft Premium Dye Ink. I cut the panel using the Stitched Circle STAX Die-namics and then added it to my card with Foam Tape. I arranged the flowers and leaves, popping them up with more Foam Tape, and then cut “hi” from Smooth White Card Stock four times using the Hello There Die-namics. I layered them together and added the die-cut word to the circle panel. I finished off the card with a trio of enamel dots.

Print

cupsupplies

swatch489

Check out what the Color Throwdown Team has created today!

Barbara Anders

Broni Holcombe

Lisa Henke

Lori Tecler

Lynn Put

Vickie Zimmer

Wanda Cullen

Amy Rysavy

Amy Rohl

Hannelie Bester, this month’s AMAZING Guest Stamper!

Seeka, this week’s awesome Guest Star Stamper!

Thanks SO much for stopping by!

cupsignature

April 11, 2018

You’re The Sugar In My Lemonade! {CTD488}

Hi everyone! Happy Wednesday!

It’s time for a new Color Throwdown Challenge, and this week, Lynn has challenged us to use the gorgeous combination of yellow, green, aqua and white! SO fresh and pretty!

Print

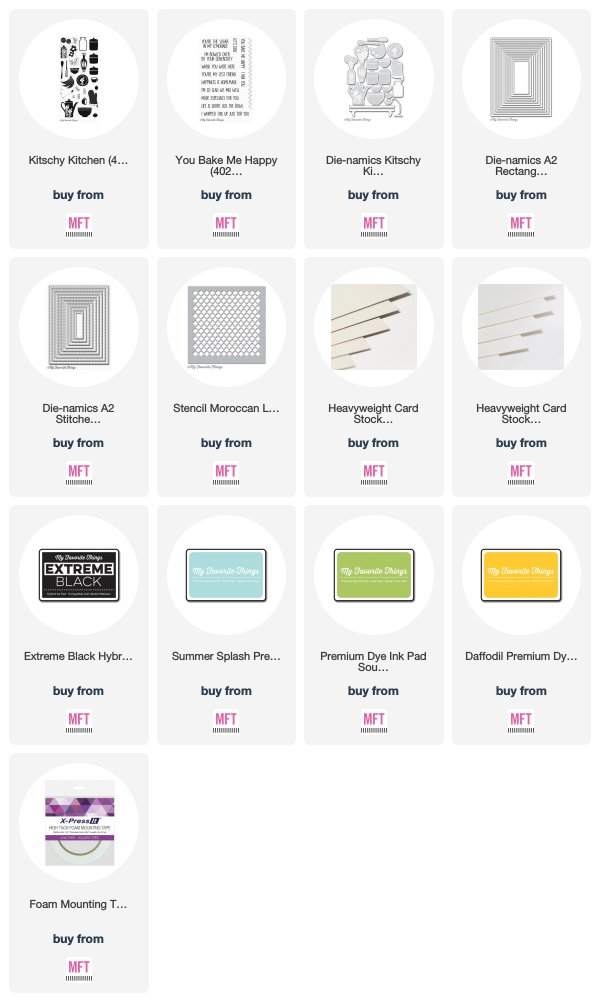
I was SO inspired by the inspiration picture and that beautifully set table! For my card, I began with a panel of Smooth White Card Stock cut using the A2 Stitched Rectangle STAX 2 Die-namics, and I lightly sponged Daffodil Premium Dye Ink onto the center of the card using the Moroccan Lattice Stencil.

I cut the vase, bowl, mug and lemons from Smooth White Card Stock using the Kitschy Kitchen Die-namics and then stamped them with Kitschy Kitchen using Summer Splash Premium Dye Ink, Sour Apple Premium Dye Ink and Daffodil Premium Dye Ink. The shelf was cut from Grout Gray Prestige Card Stock and I popped it up onto the card using Foam Tape. I then arranged the other elements, popping them up with Foam Tape as well. I stamped “YOU’RE THE SUGAR IN MY LEMONADE” from You Bake Me Happy, using Extreme Black Hybrid Ink.

Print

cupsupplies

swatch488

Check out what the Color Throwdown Team has created today!

Barbara Anders

Broni Holcombe

Lisa Henke

Lori Tecler

Lynn Put

Vickie Zimmer

Wanda Cullen

Amy Rysavy

Amy Rohl

Hannelie Bester, this month’s AMAZING Guest Stamper!

Lynda Pleckan, this week’s awesome Guest Star Stamper!

Thanks SO much for stopping by!

cupsignature

April 10, 2018

April MFT & Friends!

Hi everyone! Happy Tuesday!

It’s time for a new MFT Feature, MFT & Friends! Each month, the MFT Design Team, along with some special guests, will be providing even MORE inspiration using products from the new release! SO fun!

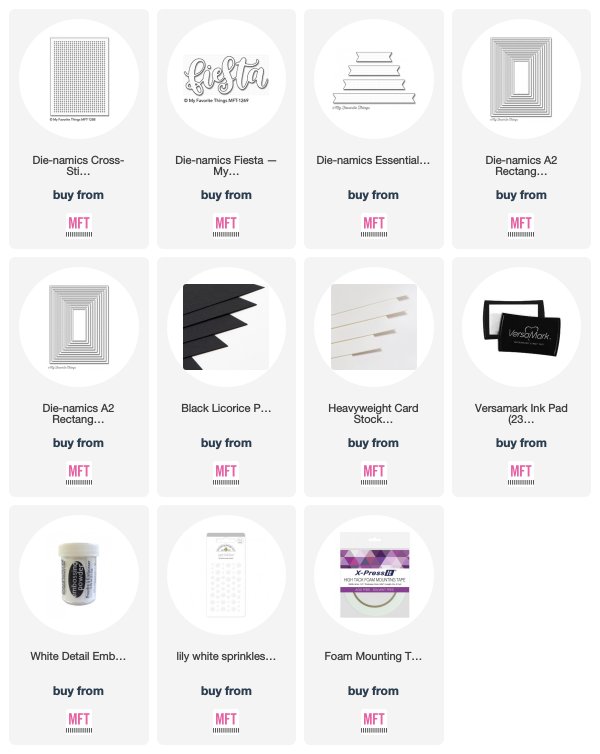
Today I have a card to share with you using the new Cross-Stitch Rectangle Die-namics and the Fiesta Die-namics! Time to party!!

Print

OK, I LOVE LOVE LOVE to cross stitch! I have been having SO much fun creating with the new Cross-Stitch Rectangle Die-namics! For my card today, I cut a panel of Smooth White Card Stock using the Cross-Stitch Rectangle Die-namics, and I stitched rows in a rainbow order! LOVE!

I cut “fiesta” using the Fiesta Die-namics four times, and then layered the together. I cut a panel of Black Licorice Prestige Card Stock using the Essential Fishtail Sentiment Strips Die-namics, and I stamped “LET’S CELEBRATE YOU!” from More Essential Sentiments using Versamark Ink, and then heat embossed it using White Detail Embossing Powder. I attached the sentiment panel to my card front using Foam Tape, and then attached the “fiesta” layered die-cut with Glossy Accents to ensure if would adhere to the stitched panel. I dotted the “i” using a Lily White Enamel Dot.

Print

cupsupplies

MFTandFriends

Thanks SO much for stopping by! Head over to the MFT Blog to check out what the rest of the team has created today, and to see who our special guests are!! Don’t forget, you can find the INCREDIBLE new release right HERE in the MFT Boutique!

cupsignature

April 4, 2018

April MFT Just Add Color!

Hi everyone! Happy Wednesday!

Seriously, have you SEEN the April MFT Release? It is completely AMAZING and I have had SO much fun creating this past week!!

Today, the MFT Design Team is sharing even more inspiration using products from the April Release, and, you guessed it, our favorite coloring mediums!

Print

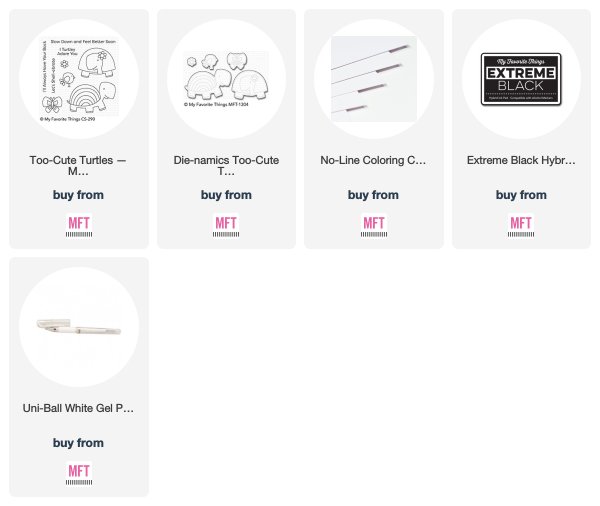
For my project today, I have created a color guide for the new Too-Cute Turtles set! I LOVE turtles, and just may have a turtle tattoo! I cut these cuties, and the coordinating images, from No-Line Coloring Card using the Too-Cute Turtles Die-namics using Extreme Black Hybrid Ink. I colored them all with Copic Markers, and I added some highlights to each image using a White Gel Pen. I attached the colored images to the stamp set with removable tape!

Print

cupsupplies

Print

Thanks SO much for stopping by! Please head over to the MFT Blog to check out what the rest of the team has created today!
cupsignature